
A deck rebuild is one of those projects that looks simple until you start pulling boards and realize how much depends on what’s underneath. Posts, beams, joists, fasteners, railings, stair geometry, footings, drainage, and proper flashing all work together. If one part fails, the whole deck can become unsafe.
This checklist is designed for Nassau County and Suffolk County homeowners who want a clear start-to-finish plan before requesting quotes, buying materials, or scheduling labor. If you already know your deck needs professional help, start by looking at deck repair and construction services so the rebuild is scoped correctly from day one.
Step 1: Decide if it’s a rebuild, a resurfacing, or a full replacement
Before you plan anything, get clarity on what “rebuild” means for your deck.
Quick definitions
- Resurfacing: Replace deck boards and possibly railings, keep the existing frame if it’s structurally sound.
- Partial rebuild: Replace compromised framing areas (joists, beams, ledger sections) plus decking and railings.
- Full rebuild: Replace everything, including footings or posts if needed.
A fast “rebuild likely” checklist
If you check any of these, rebuilding is usually the safer path:
- Noticeable bounce, sagging, or uneven framing
- Rot near the ledger board (where the deck attaches to the house)
- Wobbly railings that don’t firm up with minor repair
- Rusted, failing, or mismatched fasteners and connectors
- Stairs that feel steep, uneven, or shaky
- Prior patchwork repairs that keep coming back
If you want a deeper “repair vs replace” guide, this related post is worth skimming before you commit to a plan: 7 signs when it is time to replace your deck.
Step 2: Inspect the structure first (not the surface)
New boards on a weak frame just hide problems for a season or two. Start underneath.
Framing items to inspect
- Ledger board: Look for rot, soft spots, and missing or incorrect flashing.
- Joists and beams: Check for splitting, rot at ends, and over-notching.
- Posts: Look for rot where posts meet the ground or hardware.
- Connections: Check if the hardware is corroded or loose.
- Drainage: Standing water under the deck is a red flag.
Simple “probe test.”
Use a screwdriver and gently press into suspicious areas. If the tool sinks easily or the wood feels spongy, assume there’s rot until proven otherwise.
Step 3: Confirm the “ledger and flashing” plan
A huge share of deck problems start where the deck meets the home.
What you want to see in a rebuild plan
- Proper flashing at the ledger to keep water out
- Correct attachment method, not “whatever fits.”
- Clear plan for handling siding or exterior finishes
If a quote or plan is vague here, ask for specifics. This is one of the highest-risk areas for hidden damage.
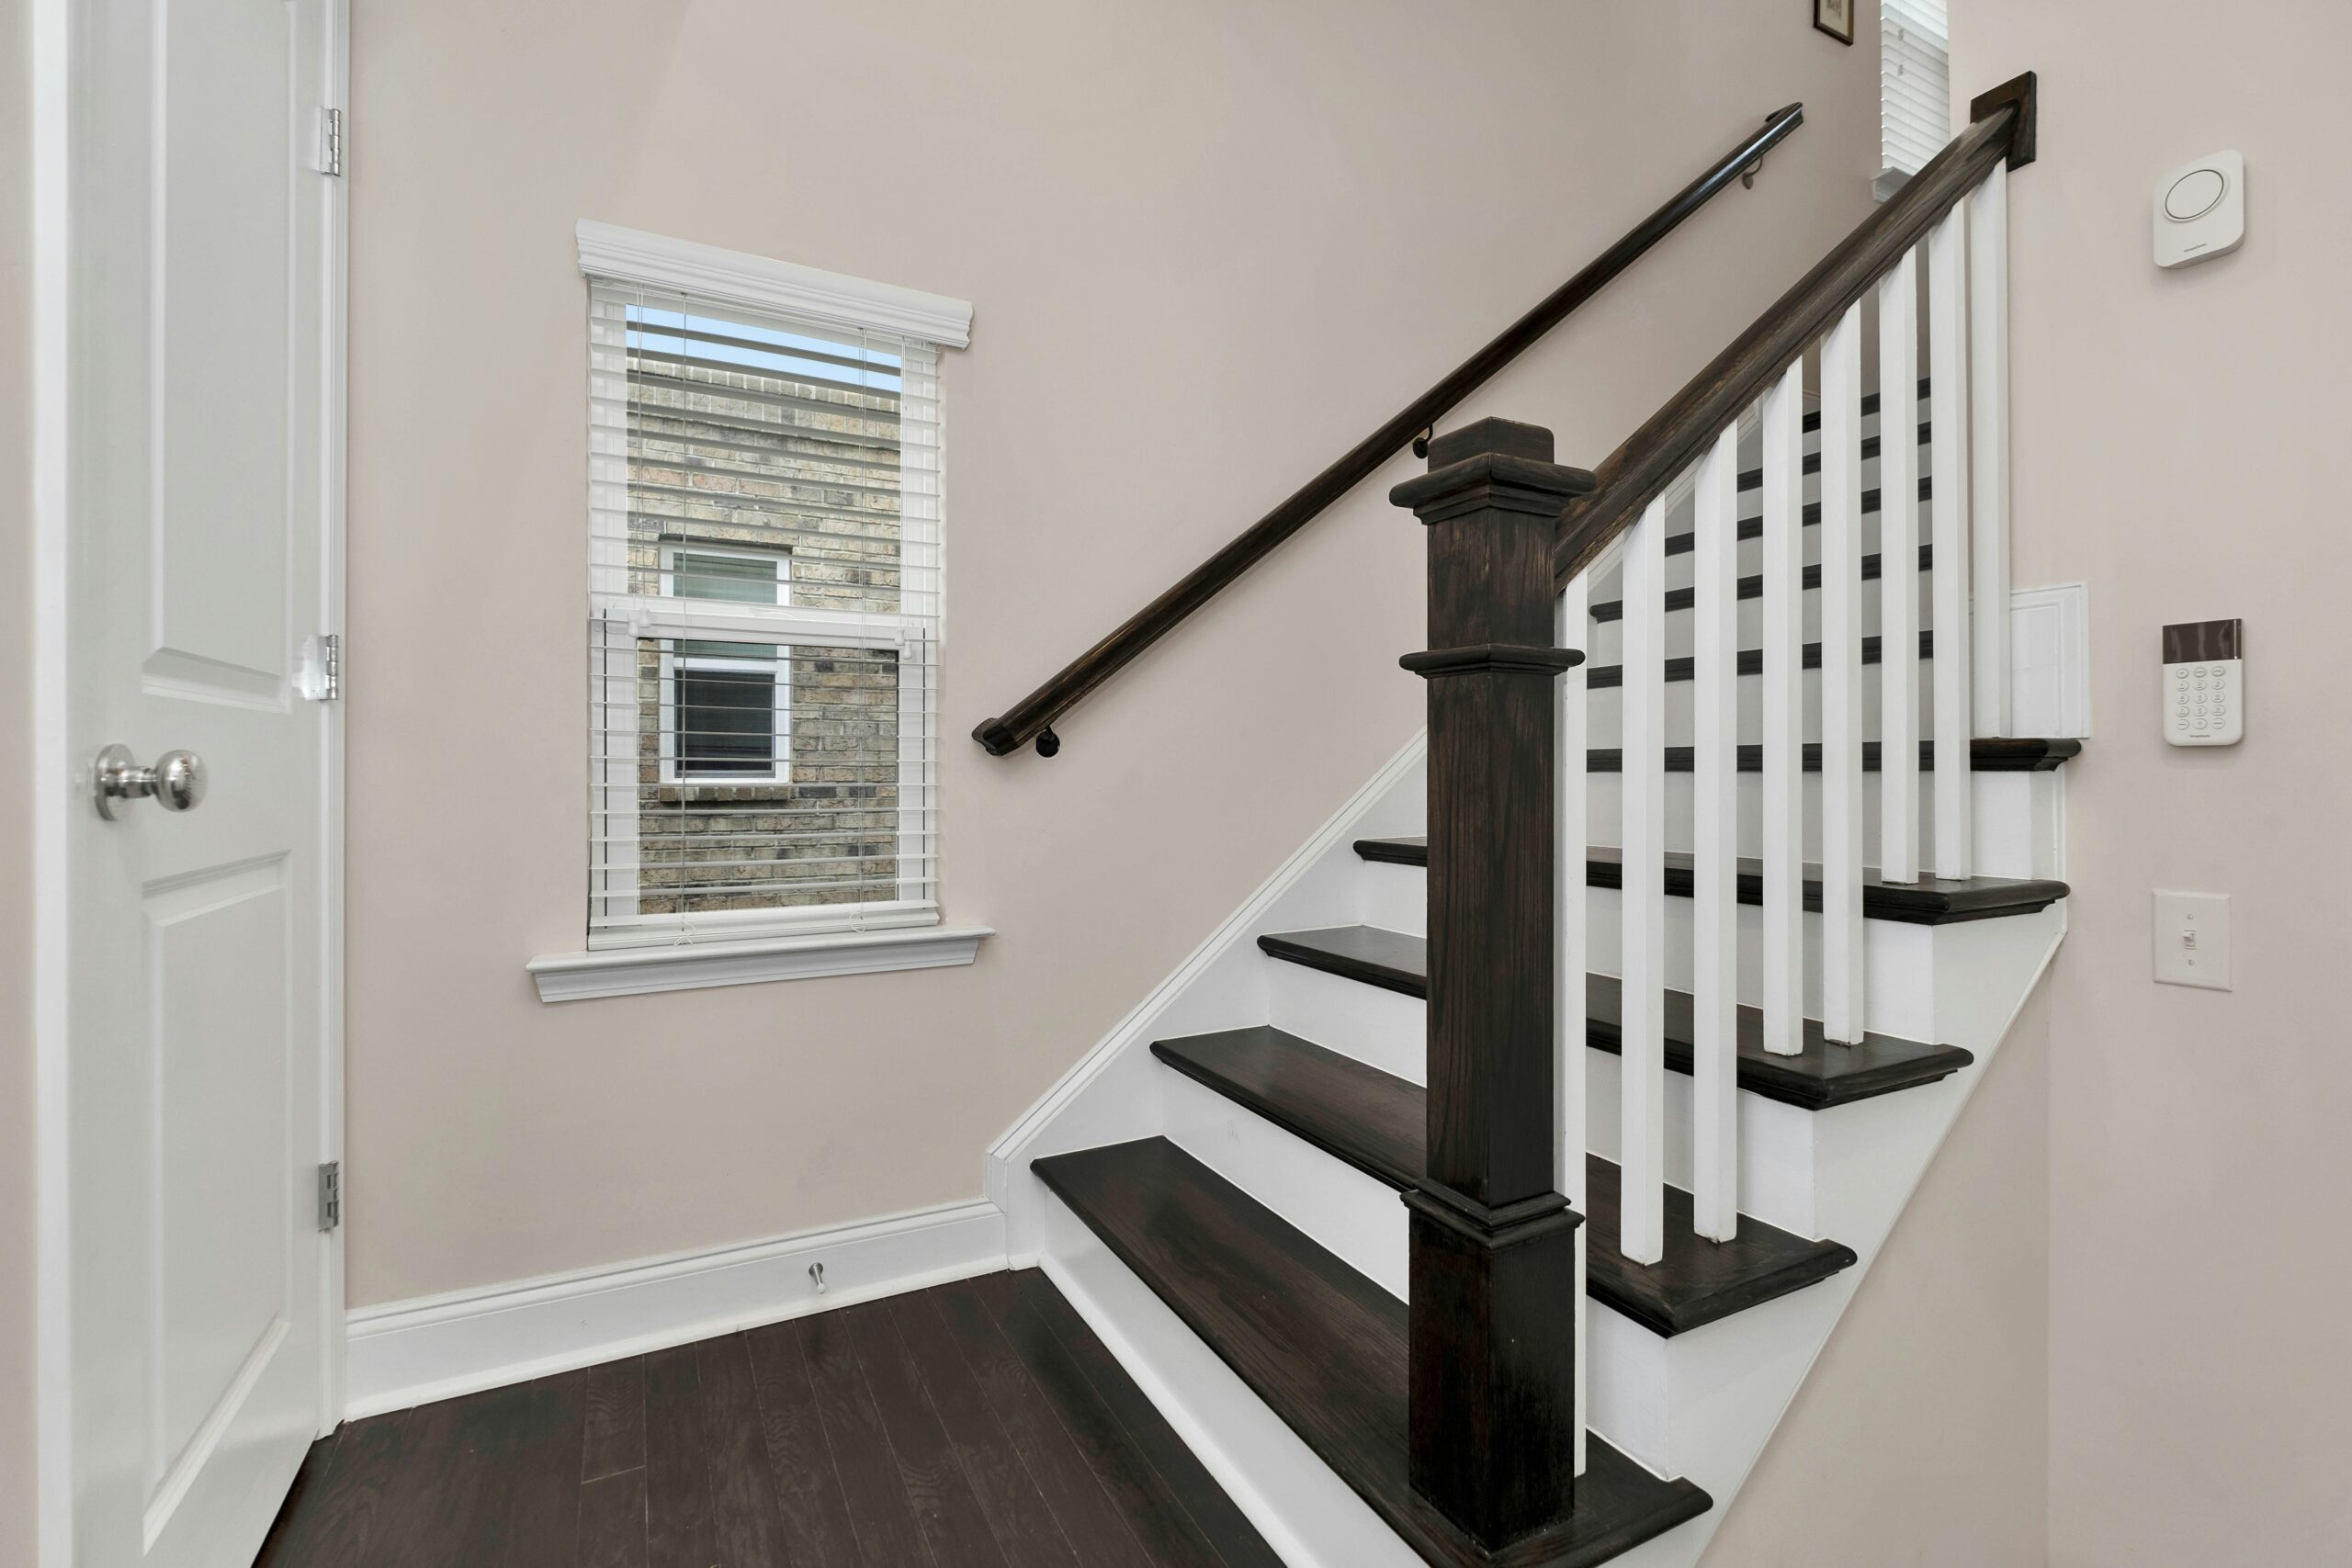
Step 4: Lock in safety upgrades (railings, stairs, lighting)
Even if your old deck “worked,” the rebuild is your chance to make it safer and more comfortable.
Railings: stability comes first
A rebuild plan should include:
- Solid posts and blocking, not just surface-mounted shortcuts
- Strong connections at corners and transitions
- A layout that reduces wobble at long railing runs
Quick test: If you can shake a railing with one hand, it’s not acceptable for a family deck.
Stairs: rebuild the geometry, not just the treads
Stairs should feel consistent step to step. In your plan, make sure you define:
- Number of steps
- Landing location
- Handrail layout
- Lighting for night use
If you have kids, older family members, or frequent guests, stair safety is not optional.
Add “useful safety” upgrades
- Step lights or path lighting
- Non-slip treads or grip strips
- Wider stair run if space allows
- Gate options if pets or toddlers are around
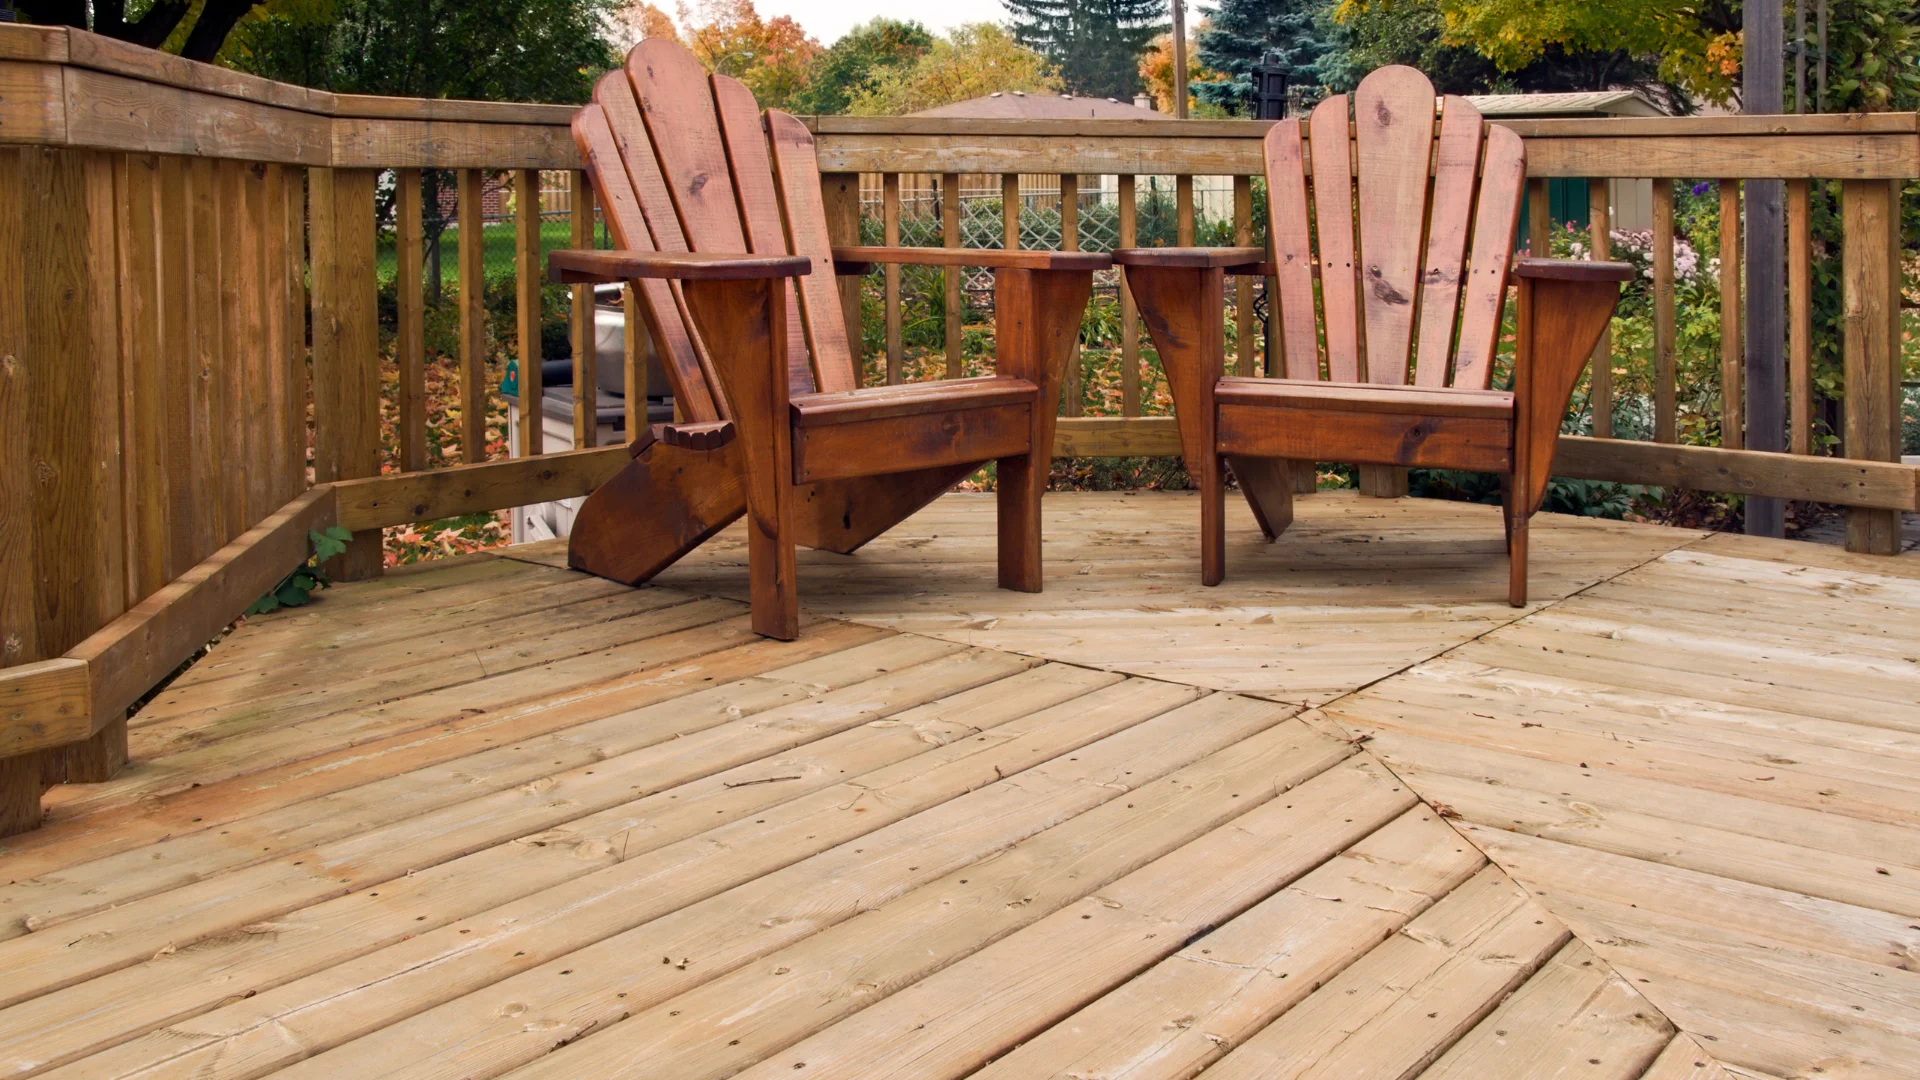
Step 5: Choose materials based on your maintenance tolerance
Material choice is where cost and long-term satisfaction are decided.
Decking options (high-level)
- Pressure-treated wood: Lower upfront cost, regular sealing and staining.
- Composite decking: Higher upfront cost, lower maintenance, consistent look.
- Railings: Can be wood, composite, or metal, depending on style and budget.
Pick based on what you will realistically maintain. If “staining every couple of years” never happens in real life, don’t build a deck that depends on it.
Plan your finishing timeline now
If you’re using new pressure-treated wood, it typically needs time to dry before staining. This will affect your schedule and expectations. Helpful related read: How long should you wait to stain a deck?
Step 6: Build a scope that contractors can quote accurately
Vague scope leads to vague pricing and surprises. Your rebuild checklist should define what’s included.
Your scope should answer:
- Is this resurfacing, partial rebuild, or full rebuild?
- Are stairs included? Are railings included?
- Any framing replacement?
- Any layout change or size change?
- Any added features: benches, planters, privacy screen, lighting?
Create a simple “materials and features” list
Even a basic bullet list helps:
- Decking type and color family
- Railing style
- Stair count and landing type
- Lighting: yes/no
- Under-deck drainage: yes/no (if applicable)
This makes estimates more comparable and reduces change orders later.
Step 7: Plan for permits, inspections, and scheduling
Deck rebuilds often trigger permitting requirements, especially when structure changes. Even when not strictly required, it’s smart to treat this like a real construction project, because it is.
Scheduling questions to settle early
- What is the realistic start date window?
- How many days of active work?
- Any weather buffers?
- What happens if hidden rot is found?
A trustworthy plan includes a clear process for surprises, because surprises are normal.
Step 8: Prep your property for a smoother rebuild
This part improves speed, cleanliness, and your day-to-day experience while the project is happening.
Homeowner prep checklist
- Clear furniture, grills, planters, and storage under the deck
- Identify power access and water access
- Plan a safe path around the work zone
- Notify neighbors if access or noise is likely
- Keep pets away from the work area
Step 9: Ask the right “trust questions” before you hire
A deck rebuild is structural, not cosmetic. The goal is a deck that feels solid, drains properly, and stays that way.
Questions that separate good from risky
- What’s the plan for ledger flashing and attachment?
- How will rail posts be anchored to reduce wobble?
- What connectors and fasteners will be used?
- How will you handle any hidden rot found during demo?
- What does cleanup and disposal include?
You’re looking for confident, specific answers, not vague reassurance.
Step 10: Use this final walkthrough checklist before you sign off
At the end, do a calm walkthrough before everything is considered complete.
Final walkthrough checklist
- Railings feel rigid with firm pressure
- Stairs feel consistent, not “off” on any step
- No protruding screws, sharp edges, or loose boards
- Surface feels even, no unusual bounce
- Edges and transitions look intentional and finished
- Work area is clean, nails and debris removed
- You understand the maintenance plan for your material choice
FAQ
How do I know if my deck needs a rebuild or just new boards?
If the frame is solid, level, and free of rot, resurfacing may work. If the deck bounces, sags, has soft framing wood, or the railings are unstable, a rebuild is usually the safer solution.
What are the most common “hidden issues” found during deck demo?
Rot near the ledger, water damage from missing flashing, corroded connectors, and framing damage around posts and stair attachments are common surprises.
Is it better to rebuild with wood or composite?
Wood is usually cheaper upfront but needs regular maintenance. Composite costs more initially but often wins on long-term convenience. The “best” option depends on how much maintenance you will actually do.
What safety upgrades are worth it on a rebuild?
A sturdier railing system, improved stair layout, and lighting are the big three. Non-slip stair treads and gates for pets or kids can also be high value.
Can I rebuild my deck in phases to save money?
Sometimes. A phased approach can work if the structure and layout allow it. The risk is paying twice for labor if phases require rework. A contractor can tell you what’s realistic after inspecting the framing.
How long does a typical deck rebuild take?
Timeline depends on size, complexity, material choice, weather, and whether hidden damage is discovered. A clear scope and plan reduce delays.
When should I stain or seal a new wood deck?
New pressure-treated wood often needs time to dry before staining. A good rule is to confirm dryness before applying the stain. This guide helps set expectations: how long should you wait to stain a deck
What should I do if my railings wobble but the deck boards look fine?
Wobbly railings are a safety issue. Sometimes it’s a repair, sometimes it indicates deeper structural problems. It’s worth having the rail system and framing evaluated before assuming it’s a quick fix.
Next step: turn this checklist into a rebuild plan and a quote-ready scope
If you’re in Nassau County or Suffolk County and want your deck rebuilt safely and cleanly, use this checklist to gather your preferences, then request an estimate with a clear scope. The fastest path is to share what you want (materials, rail style, stairs, upgrades) and what you suspect is wrong (bounce, rot, wobble).
Start here: contact Doug’s Painting & Contracting for a free quote and include a couple of photos of the deck, stairs, and the connection point to the house so the estimate can be accurate.

